A chance to win a free workshop, that's what!!
I am so excited to share with you a sneak of my first and upcoming workshop with Craftsy. They are such an amazing company and you will love this workshop. If you are just starting out in the art mediums world with will be a great workshop to start with.
I will be sharing how to get started with watercolor pencils and Copic markers. I will give you tips and techniques on how to use the mediums on your stamped images and how they can also work well together.
The workshop will be available September 28th but until then, go over and enter for your chance to win the workshop for free! You have until September 27th to enter.
Click HERE for your chance to enter.
Good luck and Happy Creating
Showing posts with label Bloom Girls. Show all posts
Tuesday, September 15, 2015
Crafts and Bloom Girls... What could be better?
Tuesday, July 28, 2015
Watercoloured Free Spirit on Canvas
Good morning everyone!
DT Stephanie with you today to show you a bit of watercolouring on a canvas that I created with Bloom Girl Free Spirit and a couple of awesome products from Jamie's line at Prima.
List of supplies I used :
12x12 canvas
6x12 Stencil-Phrases, 655350980436
1 Color Bloom Spray (colour of your choice)
1.5" Thread Letters-LOVE, 655350980474
A4 Watercolor Paper Pad, 655350980269
Bloom - Cling Stamps - "Free Spirit", 655350980184
Sentiment from the Bloom Cling Stamp - Quentin, 655350980337
Bloom- Art Book, 655350980009
Large Doily
StazOn black ink
Watercolour pencils (Prima's and Inktense by Derwent)
Waterbrush pen
Two kraft tags
Brown ink for distressing
Coral Gelato stick from Faber-Castell
Tiny square stencil
Gel medium
Modeling Paste
Twine
12x12 canvas
6x12 Stencil-Phrases, 655350980436
1 Color Bloom Spray (colour of your choice)
1.5" Thread Letters-LOVE, 655350980474
A4 Watercolor Paper Pad, 655350980269
Bloom - Cling Stamps - "Free Spirit", 655350980184
Sentiment from the Bloom Cling Stamp - Quentin, 655350980337
Bloom- Art Book, 655350980009
Large Doily
StazOn black ink
Watercolour pencils (Prima's and Inktense by Derwent)
Waterbrush pen
Two kraft tags
Brown ink for distressing
Coral Gelato stick from Faber-Castell
Tiny square stencil
Gel medium
Modeling Paste
Twine
Here are the steps to complete this project :
Start by putting a thick layer of modeling paste on your preferred word from the phrases stencil and some tiny squares, too.
Remove stencil and let dry complete. You can do this project over a couple of days, or you can use a heat gun to fasten the process.
Spray some Color Bloom here and there, moving the canvas to try having droplets.
Remove two pages from your Art Book and gently tear them in large pieces. Stick the first pattern on your canvas by using gel medium.
Add your doily in the center, again glueing it with gel medium.
Ink both kraft tags and put on top of the doily. We're building layers!
Add thread letters wherever you want. If the letters try to move when handling the canvas, add a thin coat of gel medium to their back.
Stamp sentiment on two pieces.
Stamp your Bloom Girl on watercolour paper.
Start adding colours to her face first, by using Prima's hair and skin set. You can easily do the rest with your Inktense pencils or any medium you like, as long as she gets completely coloured,
Add some twine as a hairband, if you want.
Take the second page out of your Art Book, tear it, glue it on top of the rest.
Spray some Color Bloom again.
Place your Bloom Girl on the layers using either double-sided tape or 3D foam dots.
For a nice finishing touch, grab your gelato and rub some colour at the corners of the canvas.
Here's the look without the sentiment on.
A close-up...
And our finished piece!
I hope you liked this canvas, as it was totally out of my comfort zone. How about YOU do something different the next time you create, too? :-)
Thursday, July 2, 2015
Somewhere in Time with Emily
Hey Everyone! Courteney here!
I hope all my Bloom
peeps are enjoying the summer so far. It's raining here today but it is much
needed. This month I decided to switch it up a bit and bring some of my Altered
work to the blog. I had a lot of fun creating this piece and I hope you
enjoy!!!
Step 1
Taking a Tim Holtz Metal Clock I removed both bells, legs, glass front and metal back piece.
Step 2
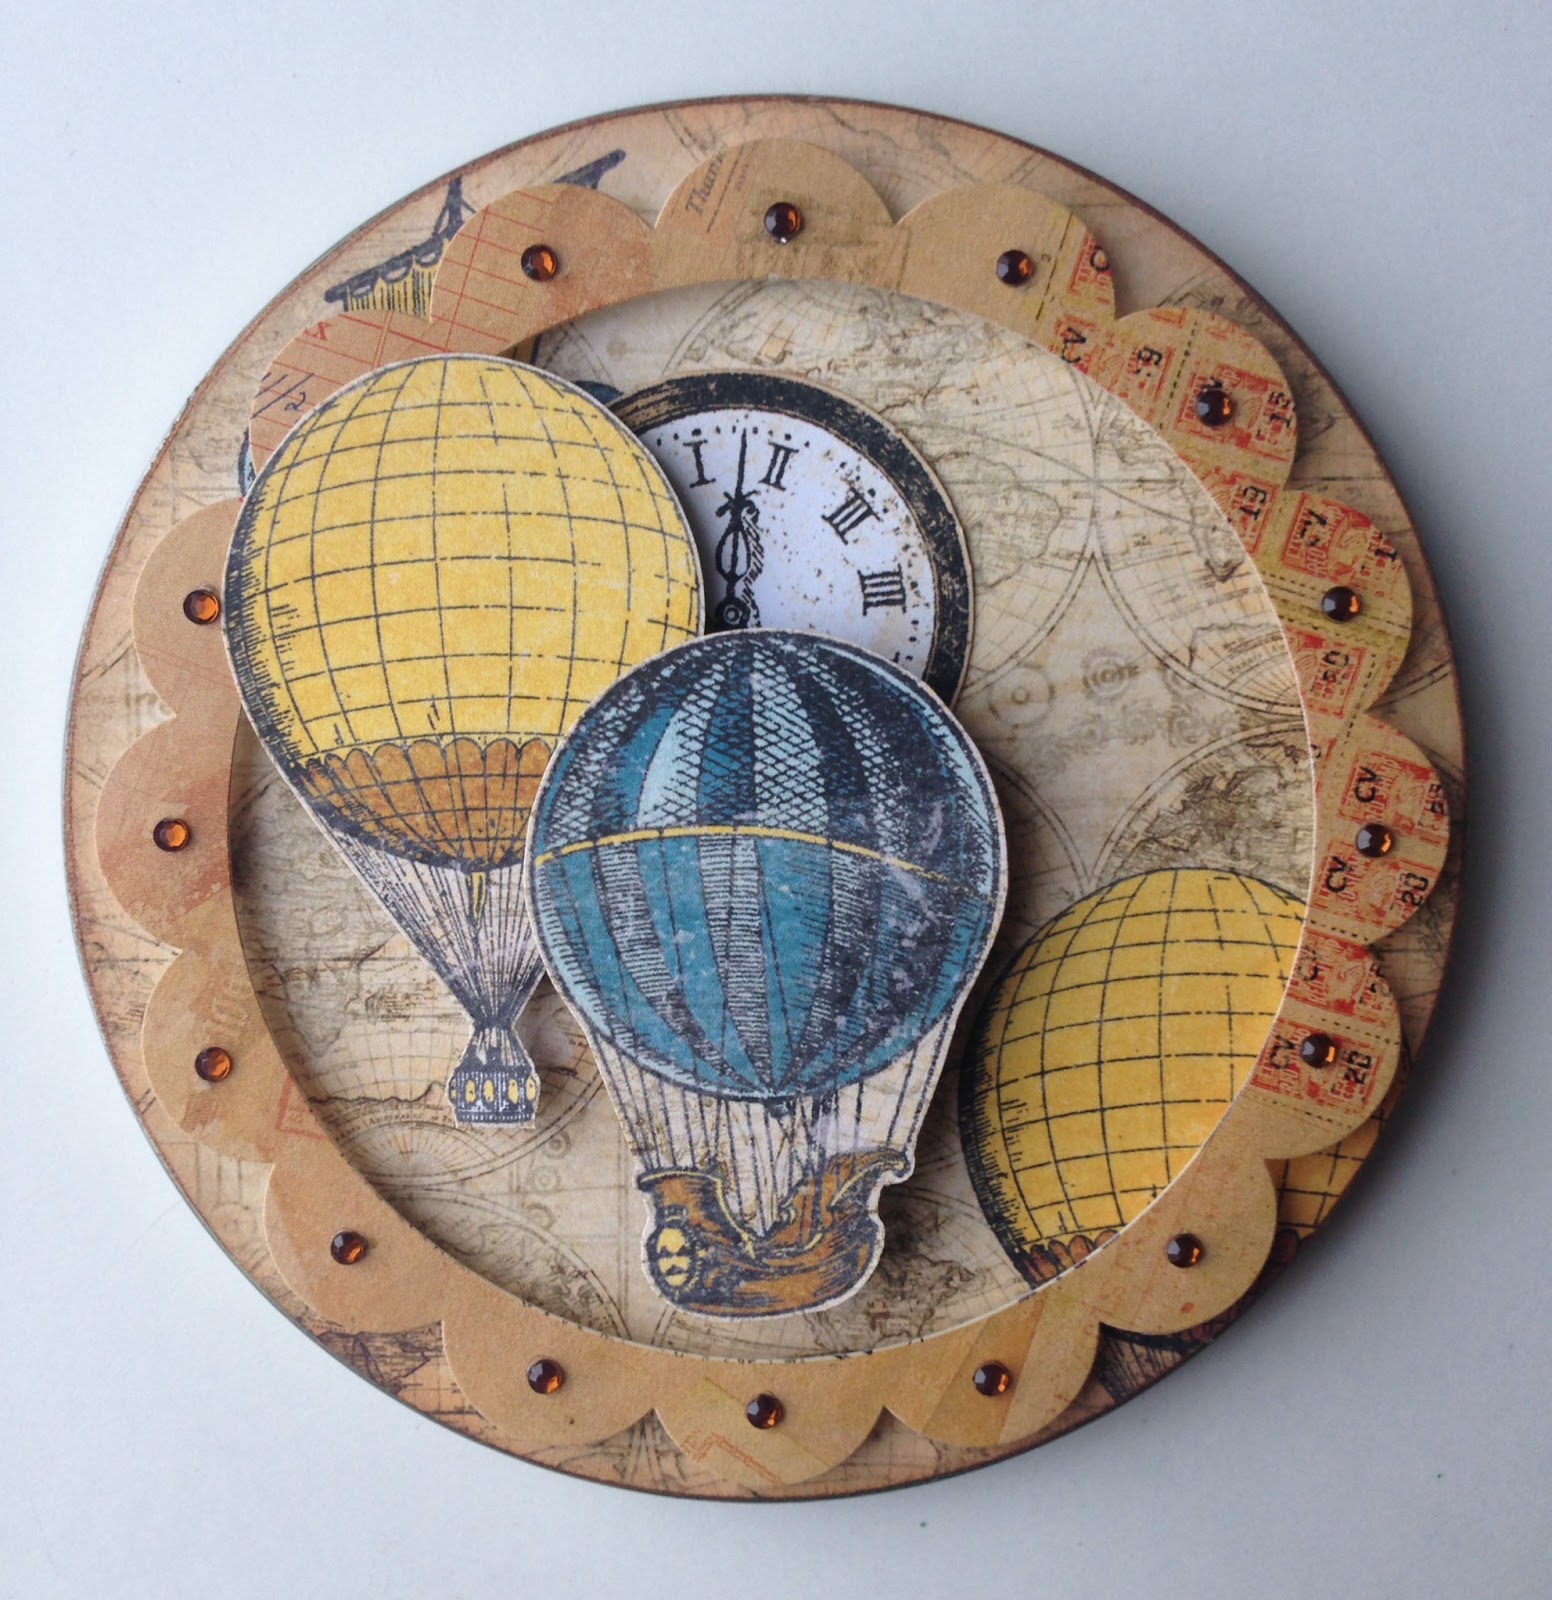
Taking Bo Bunny's "Somewhere in Time"
paper line I ripped the paper in to small piece, then took Tim Holtz Vintage
Photo distress ink, I distressed all edges of each ripped piece. Then taking my
Matt Gel Medium I started gluing each piece onto the clock covering the entire
clock.
Step 3
After the clock was completely covered I
re-assembled the bells, legs and glass front.
Step 4
Taking the Metal back piece I completely covered the with the same piece
of paper I used to cover the clock. Fussy cutting out 2 hot air balloons and a
clock from the same paper line I pop dotted them onto the back. The paper line also
came with a sticker page so I added a scallop circle and placed matching jewels
on each scallop. Then I placed the piece back onto the clock.
Step 5
Next my favourite step coloring the always
stunning Bloom Girl!!! Bloom Girl Emily was perfect for this piece I
love her Steampunk glasses and her hair is just so fun to color!!!!! Coloring most of her with my copic markers (skin and hair) and using my watercolour pencils for her eyes, lips, hair ties and jewel. A Gold pen for her glasses and remainder of necklace.
Step 6
Taking my Gold pen I colored any
remaining silver of my Clock. (Legs & handle)
Than I glued Emily into place having her match up perfectly at the bottom, using an exact-o knife to cut off anything but her hair from hang down passed the bottom of clock.
In the Bo Bunny paper line there is a sheet that is all different types of pipe's, how perfect for my Stempunk Clock. Grabbing my scissors I fussy cut out several different pieces and popped dotted them be hide and around Emily!! Placing them all around the clock.
Than I glued Emily into place having her match up perfectly at the bottom, using an exact-o knife to cut off anything but her hair from hang down passed the bottom of clock.
In the Bo Bunny paper line there is a sheet that is all different types of pipe's, how perfect for my Stempunk Clock. Grabbing my scissors I fussy cut out several different pieces and popped dotted them be hide and around Emily!! Placing them all around the clock.
Step 7
Fussy cutting out some clocks and a hot air
balloon I tucked them in around
Emily. I glued on a beautifully matching Prima flower and made a
cute little steampunk bee from Prima's Stamp-n-Moth Wing Set.
Emily. I glued on a beautifully matching Prima flower and made a
cute little steampunk bee from Prima's Stamp-n-Moth Wing Set.
Thank
you so much for stopping by and I hope you all enjoyed!!
Xoxo
Courteney
Gibson
https://poshcreates.wordpress.com/
Supply List
980306-
Bloom Girl Emily
892517- Stamp-n-Moth Wing
565848- Labelle Ocean Flower
Tim Holtz Clock
Bo Bunny Somewhere in time paper line
Bo Bunny Somewhere in time double dots.
892517- Stamp-n-Moth Wing
565848- Labelle Ocean Flower
Tim Holtz Clock
Bo Bunny Somewhere in time paper line
Bo Bunny Somewhere in time double dots.
Subscribe to:
Posts (Atom)