Showing posts with label Mini Album. Show all posts

Wednesday, May 20, 2015

Mixed Media Mini-Album Tutorial & BLOOMING on the PRIMA blog by DT Stephanie

Hey everyone!

DT Stephanie here with you today and what a surprise to see one of my projects featuring the Phrases stencil on Prima's blog!


You have so many possibilities using these Bloom stencils!


Want to know how I did this mixed media mini-album? Here are some quick steps!

Let's start by putting in front of you what you'd like to be using on your mini-album.


First thing I did was to put a thin coat of heavy gesso on my surface and let it dry.


Next, mists some of your favourite sprays and try to move your covers so that there are drops at some places.


Once everything is dried, apply your stencil on the surface and with a craft knife, put a thick coat of texture paste. Again, let dry completely before the next step.


Don't forget to do both covers!


After that, take out your ink pads and add some colours to the edges. Make sure to go all the way through the binding, or you'll see some spots uncovered and it will tarnish the whole look of the project.


Now, about that Bloom girl...isn't she fab? She's called Sirena and her dreamy look is so versatile. For this project, I stamped her on some colouring cardstock (Cryogen White) and cropped her, so that she could fit behind the resin frame.


We need some patterned papers too...


And here's the whole thing assembled with a piece of trimming. 


The final step is to put it on 3D adhesive and glue the whole thing on your cover. Now, all you need to do is add some embellishments here and there, circle some gems with a black pen, and you're DONE!


List of products used:
Prima Products: 6"x12" Bloom Stencil - Phrases, 980436, Bloom Girl - Sirena stamp, 980344, Seashore 6"x6" paperpad, 813642, Spiral Bound Mixed Media Journal, 960209, Say it in crystals - Cartographer, 573157, Oatmeal weave trim, 577094, Color Bloom spray - Precious stone, 573812, Color Bloom spray - Storm Cloud,573768, Color Bloom spray - Summer Sky, 573867, Color Bloom spray - Pearl White, 573751, Art Basics Heavy Gesso White, 961442, Art Extravagance Texture Paste Platinum Crackle, 961527, Chalk ink - Tin Can, , Chalk Ink - Black Coal, , Watercolour flowers, 577551, Flowers, 577520, Frost Snow Drop Roses, 565759, Mini Sachet Sure Flowers, 565598, Metal trinket - Engraver, 563554, Resin embellishments - Baroque Frame, 892098

And the final look!


Thanks a lot for being with us today and if you have any question at all, feel free to pop it on the Bloom Girls Creative Facebook Group  :D


Friday, February 17, 2012

Live With Prima Mini Album Class!!

Happy Friday everyone. It's a three day weekend and I'm hoping part of this weekend will consist of paint, canvas, and a glorious mess . Last night I had a Live With Prima class and I thought I'd share with ya. Help get those creative juices flowing. This is pretty structured for me and i apologize if the measurements are a little jumbled in the video. I hate measuring :P But here are the accurate measurements you will need if you would like to follow along with the video :D


Here are the measurements for last night's show:
2 pieces of white card stock,watercolor paper, or chipboard at 12"x6", 4 pieces of patterned paper at 12"x6"

Fold lines: On one piece of white crd stock fold at 1" in and again at 4" from the edge.That will give you 3" between the two score lines. On your other piece fold at 3" in and then at 4" in. this will give you a 1" between the two folds. Fold the pieces and then adhere the patterned paper on top of the crd stock.

On the binding of the inside. Accordion fold at a 1/2" you will want at least seven folds. You can add more if you like.


Hope you enjoy and have a artistic three day weekend.


Hugs
Jamie D.

Friday, December 23, 2011

A Happy New Mini For The Upcoming Year

Hello everyone!! I wanted to share with you my Mini album i created on Live With Prima. A great way to use the acrylic you have or bring back those mini albums. With all the mediums that are popular right now. Acrylic is the perfect product to use those mediums on. Take a look and I hope you enjoy.


Here is what I created. 


"US" Mini
In this class Jamie will show how you can alter acrylic using Staz-On inks, embossing powder and Sharpie markers, as well as using your heat gun to alter and manipulate the acrylic to add dimension. Create a beautiful Mini album for your New Year's celebrations or a memorable anniversary present.

  • 540319- Innoscence Collection
  • 552381- Miss Kate Petal Night Light
  • 544584- SIIC
  • 890179- Build a book scallop single
  • 890056- black Build a book pair
  • ??????-Scallop round Build a book pages. (I use two for the book) Not sure how many come in a pack)
  • 890575-Star Build a book tags
  • 533700-Cherry Blossom Branches Silver
  • 553524-Aglow Black Magic
  • 541835- Clear Paintable stamp
  • 553487- Medley Star
  • 921644- US canvas

  • White Opaque Staz-On Ink
  • Silver embossing powder
  • White Sharpie paint pen
  • Heat Gun
  • 3D foam squares
  • Adhesive
  • Ribbon (May Arts)


Here is the Product list if you would like to recreate this project :)
I wish all of you a Happy and Safe Merry Christmas and Happy New Year. God Bless

Jamie D.

Saturday, December 10, 2011

Live With Prima Preview


Catching up here a bit :) Here is a recap of my last class and I wanted to share with you m classes this month. Some FUN projects coming.


I created a version of the Altered books I create, for the Christmas holiday. I loved the how Prima's Jack N Jill worked. And the Flocked Rub-ons were a perfect finishing touch. I hope you enjoy and would love any input you have ;)

Now for the month of December :) I will be doing one of my classes with my crafty little daughter. This class will be perfect to watch with your daughter, niece, granddaughter, or just that artistic little girl at heart. We will be creating mixable, wearable pieces using Prima's flowers, buttons, and masks. We will also alter a scarf perfect for the chilly winter days. :)

Tuesday December 20th at 5:00PM PST on Ustream (Supplies needed coming soon)

This project is perfect last minute gift or a fun accessory for yourself. Your Memories Here carries a wide variety of Live With Prima Kits and products. Make sure to check in for all of your supply needs.

For my second class next month I will be showing you ways you can alter acrylic with embossing powders, staz-on inks, heat gun, and of course Prima's yummy embellishments.
Thursday December 22nd at 6:30PM PST

This handsome album would be perfect to commemorate your New Years Eve or a romantic Anniversary.


Thank you for swinging by my blog. I hope you have a inspirational and productive weekend. 


Hugs To All


Jamie D.


Monday, November 7, 2011

A Day of Classes at Treasured Memories :)


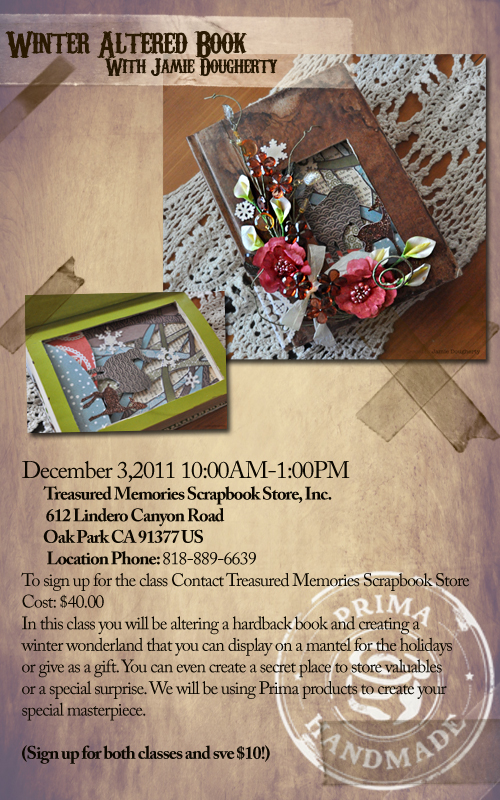
On the first Saturday of December I will be in the Los Angeles/Oak Park area at Treasured Memories teaching two Prima classes!! Both will be taught only once and only at Treasured Memories. If you would like to sign up please contact the store . Hope to see you There!!! :)


Hugs

Jamie D.

Sunday, March 27, 2011

Prima Spring Mini Album

Spring is here so let's "Go Green". More than just the color green. Let's think more about the planet and use a little "Green" in our projects. I created this Mini album with scraps and packaging from Prima.

The cover and back are pieces from a clear acrylic Prima album that I have been hanging onto for a couple of years now. Never knowing what to do with them and my mentality of "I better keep this, just in case I need it" I just couldn't get rid of them lol. So I finally found a purpose for them. I used Prima's Paintables clear stamps and stamped the edges with Staz-On black Ink. Then sporadically painted Glimmer Glam on the cover. (Organic Garden). Once it dried I sprayed the cover with Chalkboard glimmer mist(Inch Worm) and heat dried it. The white frame is from the $1 bin at Michaels. The banner is made from a scrap piece of canvas I had in my stash.


Maya Road's envelopes worked awesome as filler pages in this little album. I embellished them with Prima clear stamps and Hydrangia flowers, on the edge.


Here I distressed and altered two pieces of Prima packaging and sewed them together with a scrap piece of lace between the two. It made the perfect base for a background.


On this envelope, I took the scrap edge of a Prima Journaling card to embellish the opening. I used scrap paper to make the large envelope for the next page.


Here is more Prima packaging, sewn and used as a tag to display pictures of my kiddos.


I often cut apart my Say It In Crystals. and have ends and bits left over. I took a few of my left overs and used them on this page.


In a package of flowers there are always those flowers that end up in the bottom of your stash. I took a couple of my white flowers and altered them to match my project.


I hope you can look through your stash and scraps for new inspiration. Hugs and have a wonderful, inspiring week.


Jamie